
Mastering the Art of Panoramic Photography: A Guide by Doreen McGunagle Fine Art Nature Photographer
As a fine art nature photographer, my journey through the world of panoramic photography has been a fascinating one. Capturing the vastness of breathtaking landscapes and the intricate details of nature in a single panoramic image is a pursuit that constantly challenges and inspires me. In this blog post, I'll share with you the essential tools and techniques that I've learned over the years to create stunning panoramic images that transport viewers to the heart of nature's beauty.
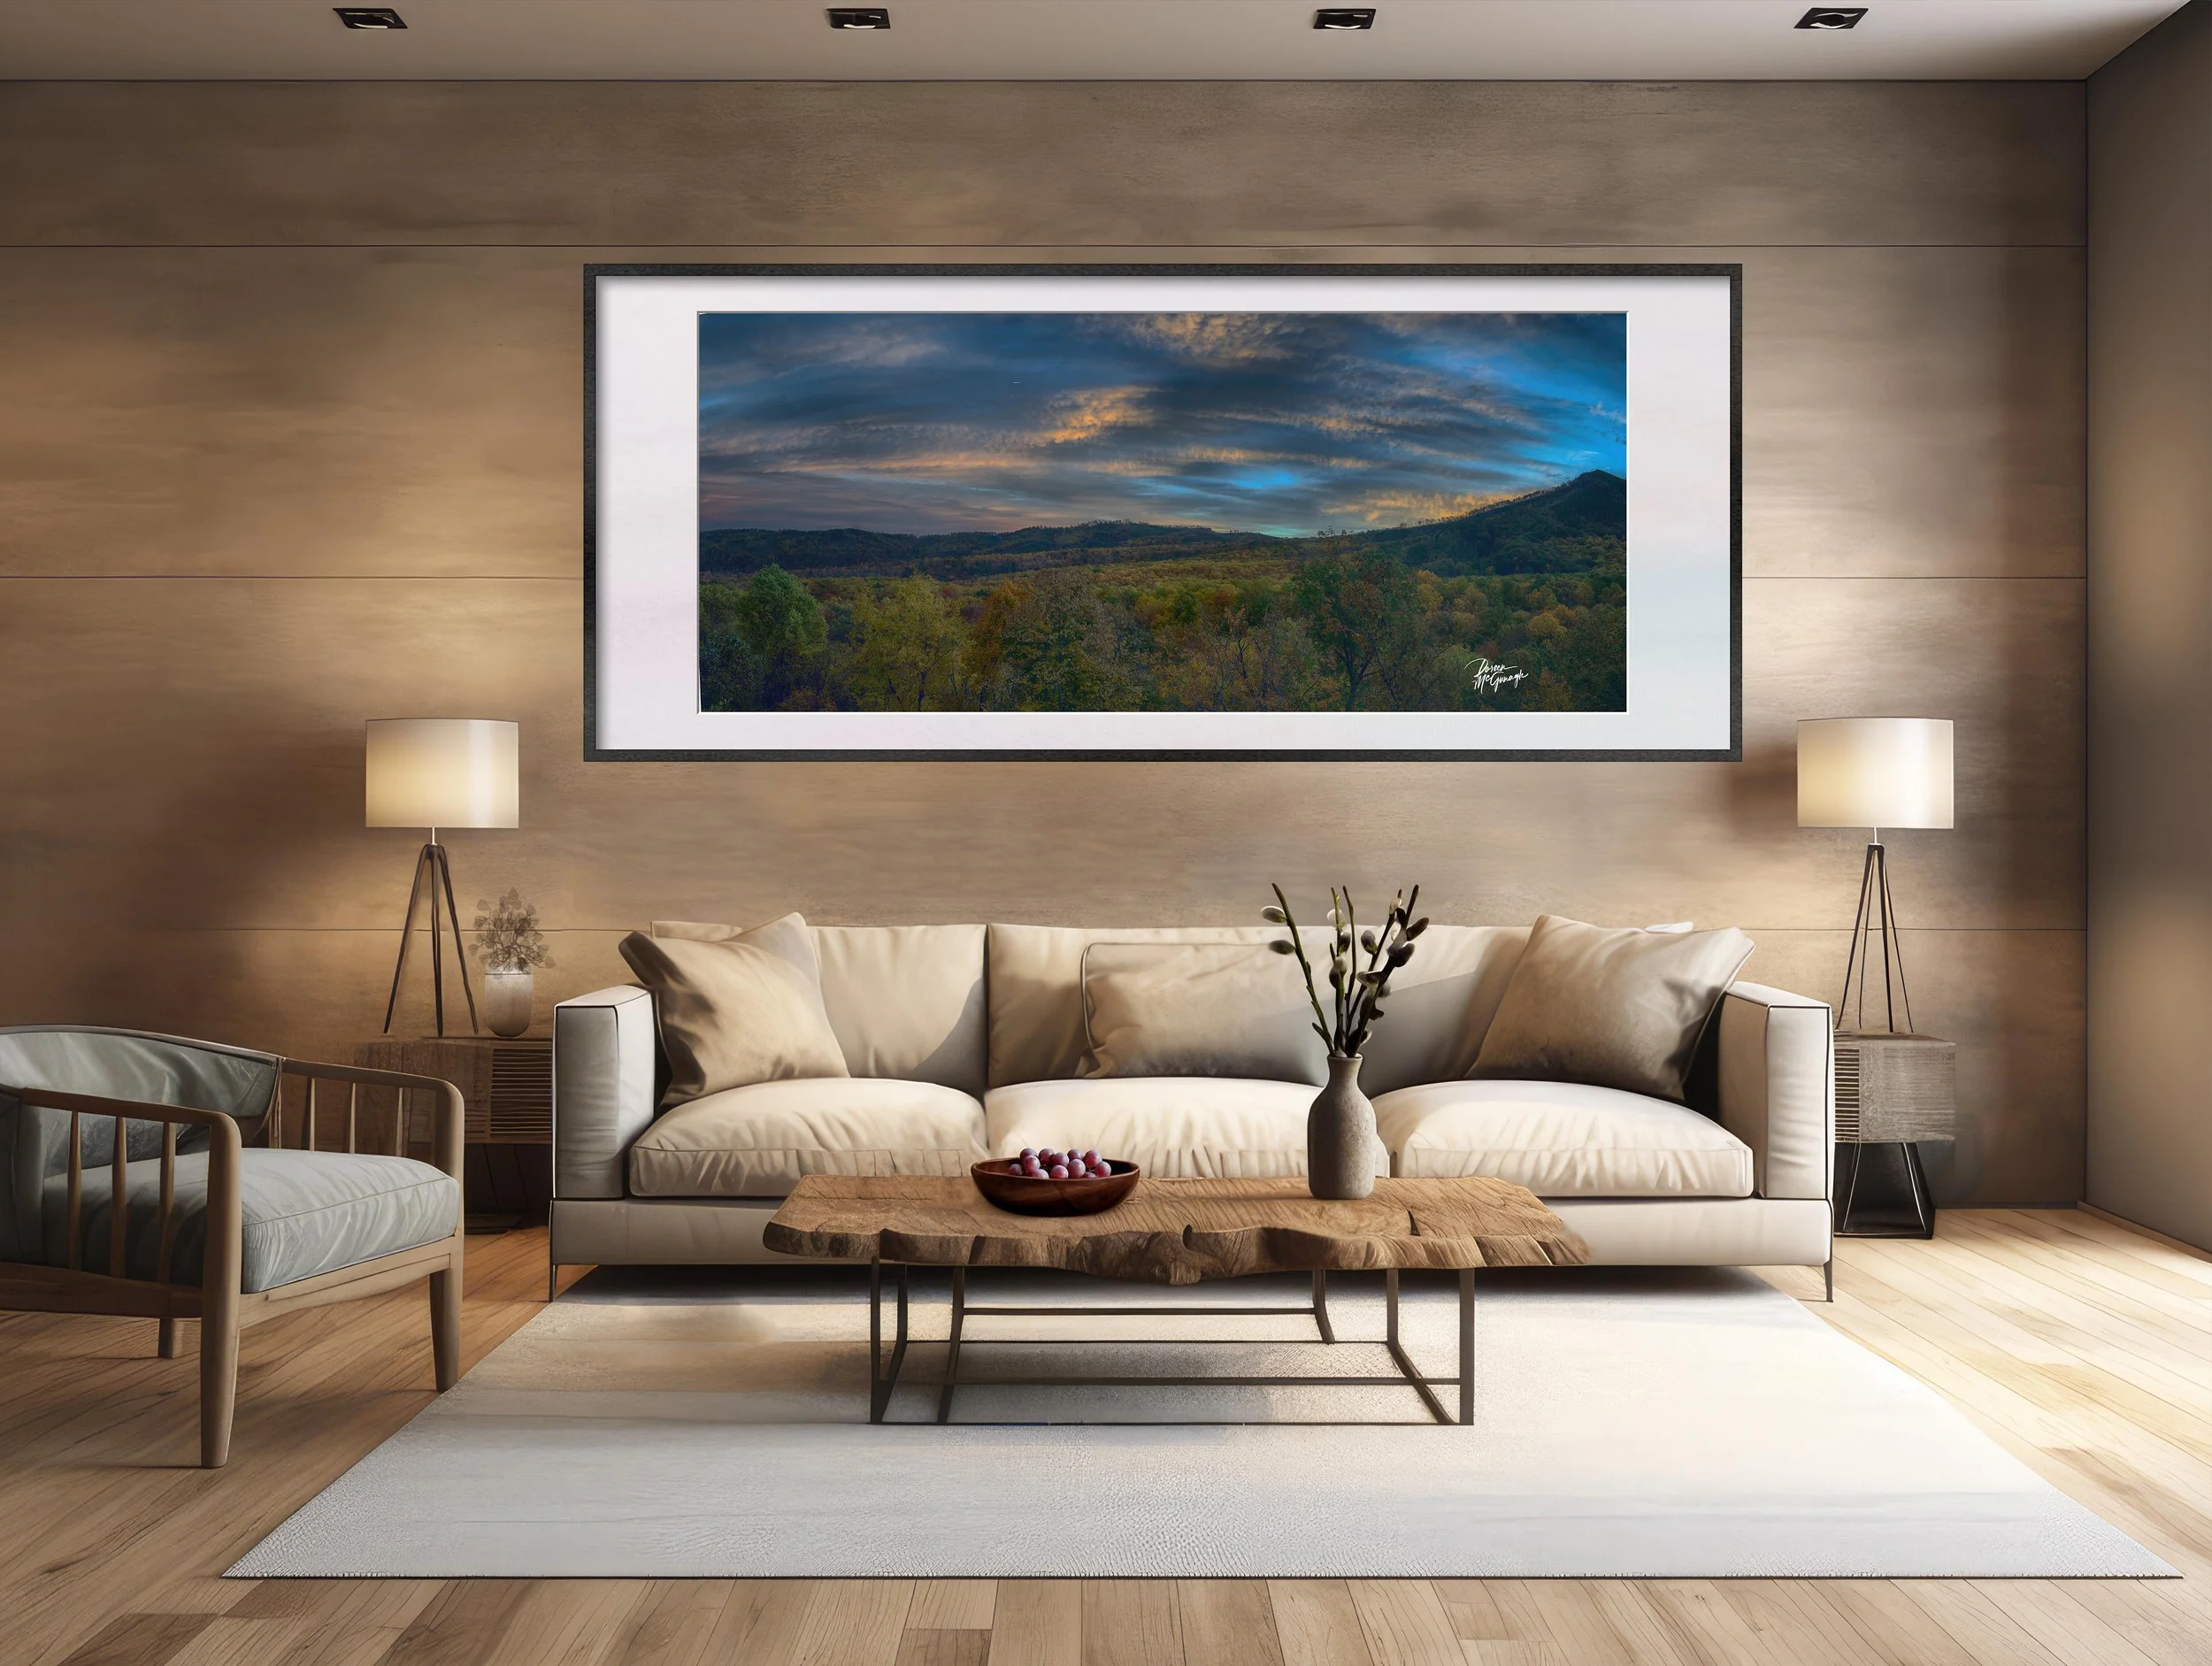
Majestic Sunset Serenity
Immerse yourself in the awe-inspiring beauty of the Great Smoky Mountains with our limited edition fine art nature image capturing a panoramic sunset over the vista.
Majestic Sunset Serenity 8448-52_57 c2023 | Tennessee | Learn More
The Panoramic Photography Essentials
Before we dive into the specifics of panoramic photography, it's important to understand the basic tools and concepts that form the foundation of this art form.
1. Digital Camera: To capture panoramic images, you'll need a digital camera. While smartphones have made strides in photography, for panoramic photography, a dedicated digital camera is still the preferred choice due to its advanced settings and manual controls.
2. Focal Length and Lens: The choice of your lens plays a crucial role in panoramic photography. Wide-angle lenses with a focal length of 35mm or less are ideal for capturing a wide field of view.
3. Manual Mode: Shooting in manual mode gives you full control over your camera settings, allowing you to adjust exposure, shutter speed, and aperture to your liking.
4. Tripod: A sturdy tripod is essential for panoramic photography, as it ensures that your camera remains perfectly still during the capture process. Look for a tripod with a ball head for ease of adjustment.
5. Bubble Level: To maintain straight horizons in your panoramic shots, a bubble level that can be mounted on your tripod is invaluable.
6. Stitching Software: Specialized stitching software, such as Adobe Photoshop or dedicated panorama creation tools, is essential for merging multiple images into a single panoramic shot seamlessly.
The Panoramic Photography Process
Now, let's walk through the step-by-step process of creating stunning panoramic images:
1. Camera Setup: Set your camera to manual mode and adjust the settings. Ensure that your white balance is consistent throughout the shoot to avoid color discrepancies in the final image.
2. Composition: Focus on finding the right focal point for your panoramic shot. Think about the elements you want to include in the frame and their relative positions.
3. Overlapping Images: Begin capturing a series of photos, overlapping each by about 30% to 50%. This overlap is crucial for the stitching process.
4. Use a Tripod: Mount your camera on a tripod to maintain a consistent vertical position and avoid parallax errors caused by shifts in perspective.
5. Take Test Shots: Before capturing the entire scene, take a few test shots to ensure your camera settings are correct, and the exposure time is suitable for the lighting conditions.
6. Multi-Row Panoramas: In some cases, especially with tall subjects, you may need to capture multi-row panoramas. In this scenario, tilt your camera up or down, ensuring each row has overlapping images.
7. Stitching Images: Transfer your images to your computer and use stitching software to merge them into a single panoramic image. The software will align the photos and correct any distortions.
8. Post-Processing: Once the panorama is stitched, you can fine-tune the image in post-processing to enhance color, contrast, and sharpness.
The Importance of the Right Equipment
Investing in the right equipment is crucial for achieving excellent results in panoramic photography. Here's why each piece of gear matters:
1. Wide-Angle Lens: A wide-angle lens allows you to capture a wider field of view, making it ideal for panoramic shots. It enables you to include more of the scene in a single frame.
2. Good Tripod: A sturdy tripod ensures your camera remains steady, preventing blurry images. It also helps maintain straight lines in your composition, which is vital for panoramic photos.
3. Bubble Level: The bubble level ensures that your camera is perfectly level, preventing skewed horizons in your final result.
4. Stitching Software: Specialized stitching software is designed to align and merge your images seamlessly, saving you time and effort in post-processing.
Mastering Panoramic Photography
Mastering panoramic photography requires practice and patience. Here are some additional tips to help you along the way:
1. Manual Focus: Use manual focus to ensure the entire scene is sharp and in focus. Autofocus can sometimes struggle with panoramic subjects.
2. Control Points: Add control points in your stitching software to help align and merge images accurately.
3. High-Quality Memory Card: Invest in a high-quality memory card with ample storage capacity to capture multiple images without interruption.
4. Long Exposures: For scenes with low light, consider using longer exposures to capture more detail. Use a remote shutter release to minimize camera shake.
5. Aspect Ratio: Be mindful of your chosen aspect ratio, as it can significantly affect the final composition of your panoramic image.
Limited Edition Wall Art Prints Available
Before we conclude, I'm excited to share that limited edition wall art prints of my panoramic photographs are available from my online gallery. Each print is a meticulously crafted masterpiece that captures the essence of nature's beauty, from serene landscapes to vibrant wildlife. By owning one of these limited edition prints, you can bring the tranquility and inspiration of the natural world into your own space.